Minerva Helix Installation Guide
Tank Installation Guide Pre Sept 2016
Tank Installation Guide Post Sept 2016
Take a look at our FAQs to find the answers you need. You can also download installation guides, filter cartridge replacement instructions and buy spare parts.
In certain circumstances, there is a safety reset mechanism on your Minerva tap’s boiler tank that will cause it to shut down. Examples of when a tank will shut down include if there is no water in the tank or if there has been a power surge.
So, first of all, check the power supply to your Minerva tap’s tank. If this is satisfactory, try resetting your boiler tank. This is a simple procedure. Watch our easy-to-follow video here.
It is normal for water to occasionally drip into the tundish to relieve the pressure that builds up in your Minerva tap’s boiler tank. It can help to think of the tank as a giant kettle; once the water has boiled, the steam has to be released! It is also normal for water to drip for up to 20 minutes when the tap and boiler tank has been first switched on.
If, however, water continues to drip or run into the tundish, you should check that your water pressure is not exceeding 5 bar. The pressure relief valve is designed to open when pressure reaches or is higher than 5 bar. If this is the case, constant dripping/running will be seen.
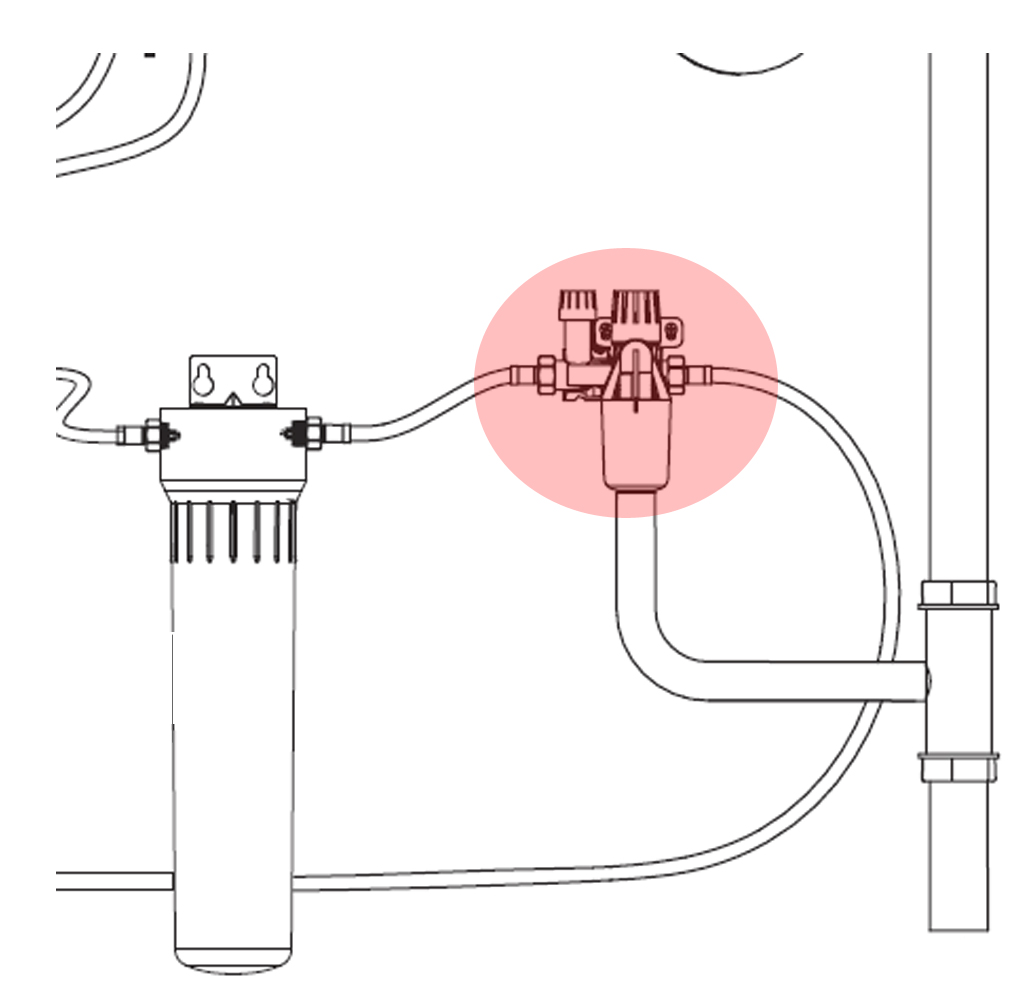
Ensure your water pressure is measured accurately and at a low-demand time. If water pressure is excessive, a pressure reducing valve can be fitted. This can be purchased online here and will allow you to adjust your water pressure to the recommended 4 bar. The valve should be fitted on the cold water feed, before the inlet of your Minerva tap’s filter cartridge.
In the very unlikely event that you see water continuing to drip into the tundish after a pressure reducing valve has been installed, a new pressure relief valve assembly is required. Buy one here.
If you’re new to boiling water taps, their water delivery can take getting used to. In fact, this question is probably one of our most common customer enquiries!
However, it’s important to remember that the boiling water flow will never be smooth as a normal hot or cold flow. It is, after all, being dispensed from the tap’s spout at a boiling temperature and accordingly, you should always expect to experience some steam, spluttering and spitting – it can be helpful to imagine the noise a cappuccino machine would make!
Please take a moment to view the following videos; they show what the normal function of a Minerva tap looks and sounds like – and we think you’ll be reassured.
In addition, the videos have some great hints and tips to help you use your Minerva tap safely. You’ll see how the user turns the tap on and runs off the lag of non-boiling water until the tap starts to steam. They then place their mug under the tap – high up and so that the end of the tap’s spout is completely contained. This is the best and safest way to use your Minerva tap – containing the boiling water and preventing splashes.
If you have viewed the links to the above movies, but still believe your Minerva tap is spluttering excessively, there are some simple checks you carry out to ensure the pattern of the boiling water flow is optimized.
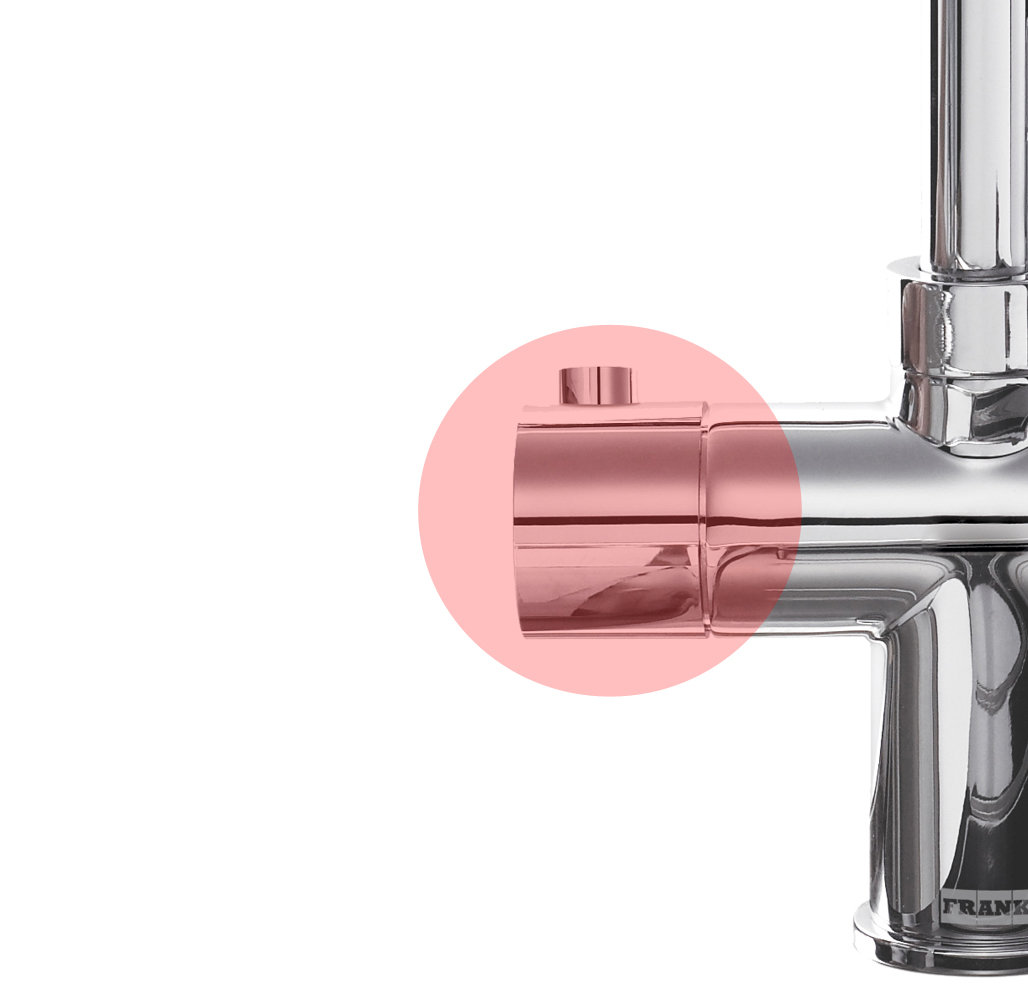
If the boiling water handle of your Minerva tap isn’t springing back into place, a replacement boiling valve is required. Replacement boiling valves can be purchased online here.
If the boiling water handle of your Minerva tap isn’t springing back into place, a replacement boiling valve is required. Replacement boiling valves can be purchased online here.
If your Minerva tap is constantly dripping from its spout (the end of the spout, not from around the joint), then one of the tap’s valves requires replacing. To establish which valve needs to be replaced, follow the below steps –
Once you are satisfied you know which valve you need to replace, take care when getting your Minerva tap up and running again. It is essential that the water supply is turned on before the power supply is switched on, otherwise the tank will trip.
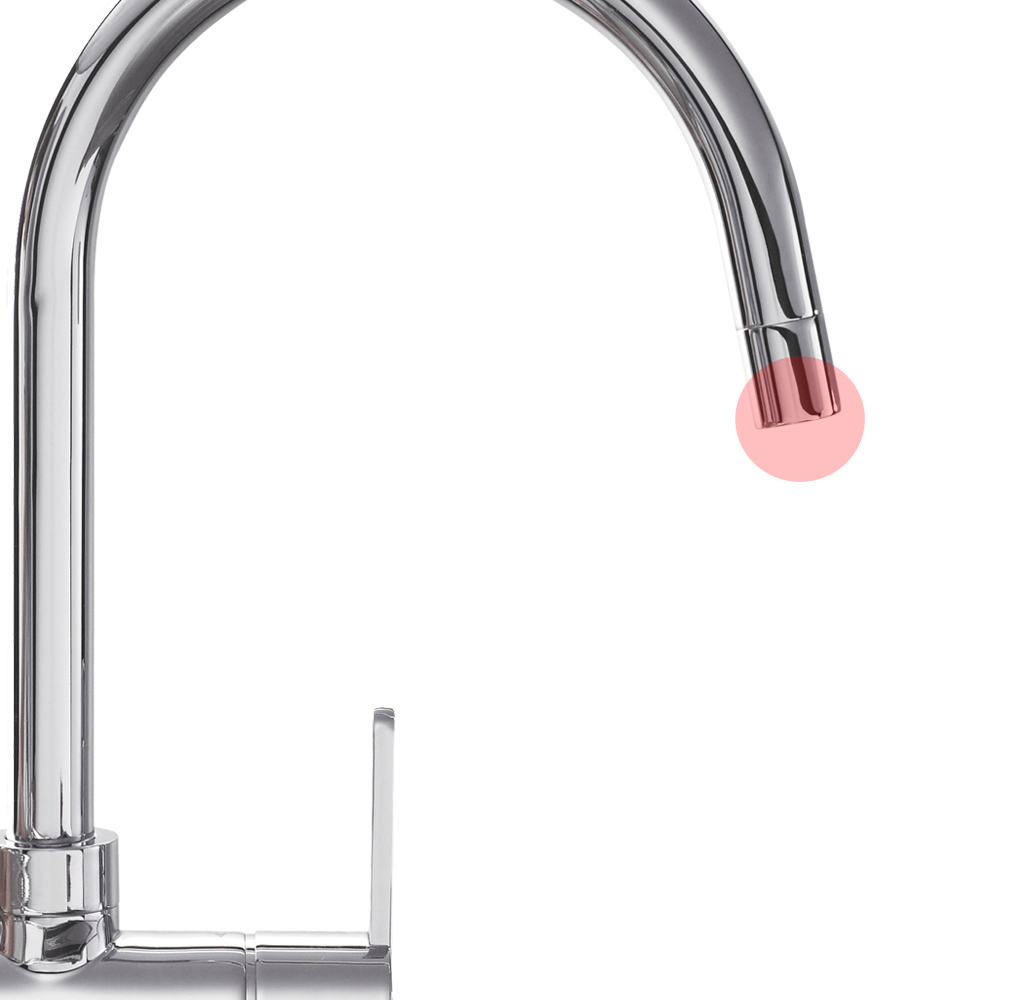
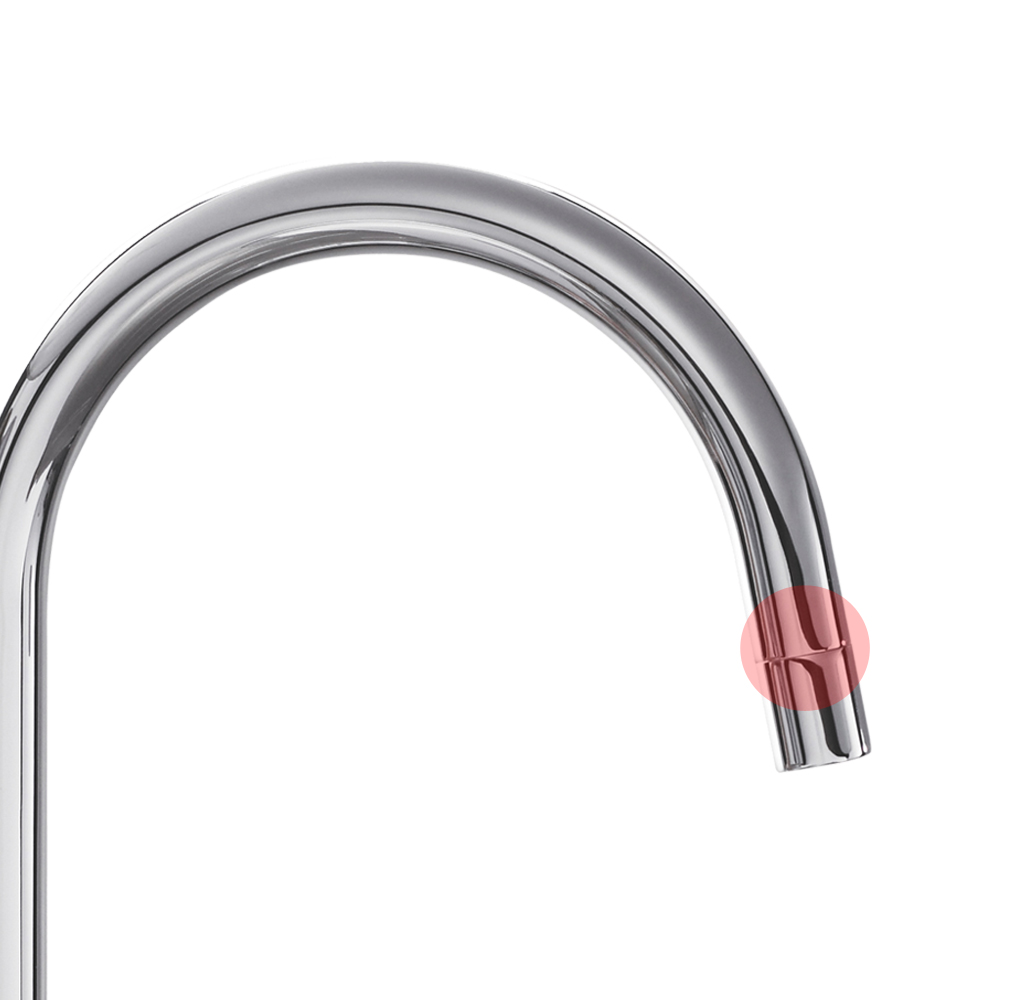
If your Minerva tap is dripping from around its spout outlet – you might see little bubbles of water forming – you will need to replace the spout outlet. Take care to select a spout outlet in the correct finish for your tap.
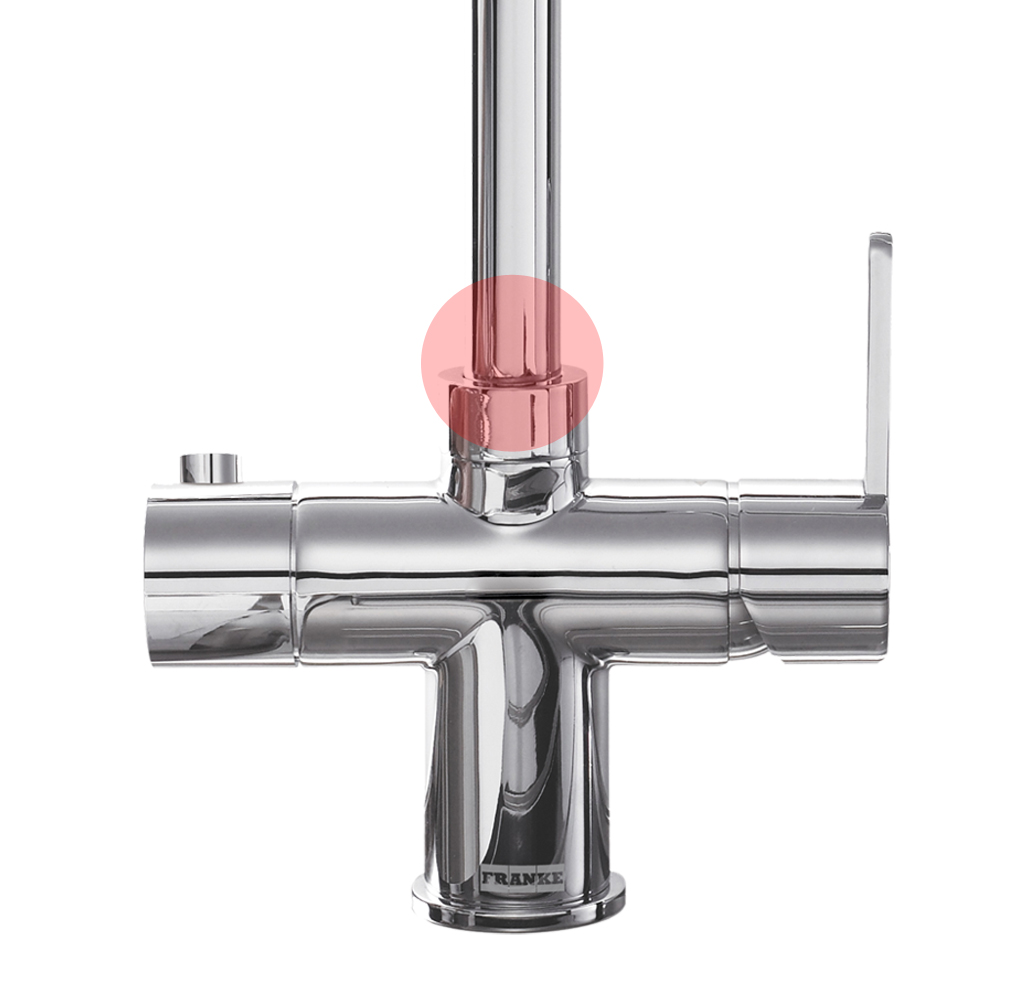
If your Minerva tap is leaking from around the base of its spout – where it swivels and joins the tap’s body – it is likely you will need to fit a new seal kit. These can be purchased here.
If your Minerva tap is leaking from its crunch fittings, you can purchase replacement crunch fittings here.
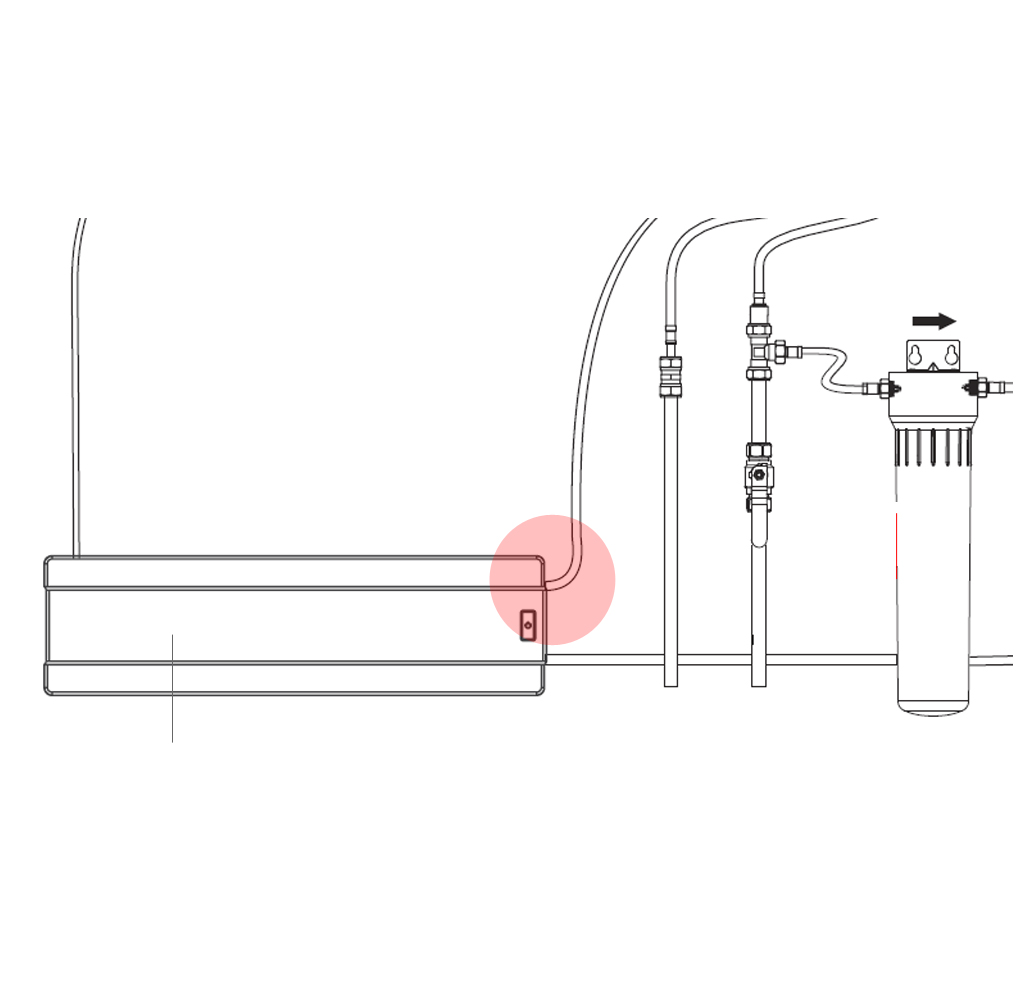
Replacing the copper washer between your tap and its boiler tank should resolve leakage from this area. You can purchase a replacement copper washer here. If you believe the boiler tank is leaking from anywhere other than the joint between the tank and the tap, please contact FilterFlow.
If the boiling water flow of your Minerva tap seems slow or restricted, it might indicate your tap’s filter cartridge needs replacing. Filter cartridges should be replaced every 6 months. However, it’s worth remembering this is a recommendation only – water quality varies from area to area – and in some areas, there will be higher turbidity (particle contamination). This means your Minerva tap’s filter cartridge might need replacing more regularly.
It’s also good to remember that as well as your Minerva tap’s filter cartridge keeping your water free from contaminants, it’s helping to minimize limescale deposits. This, in turn ensures your tap’s boiler tank can deliver optimum performance.
To find out if a blocked filter cartridge is the reason for your tap’s poor boiling water flow, remove the filter cartridge and use the tap’s boiling water function without the cartridge. If you see the flow has returned to normal, purchase a replacement filter cartridge Franke 07.
If this test does not resolve the problem, please contact our support team by telephone.
Check the filter cartridge and housing element of your Minerva system has been correctly installed. The filter should only be filtering cold water feeding your Minerva tap’s boiler tank – not the flow of Mains cold water to your tap.
If the hot flow of water (not the boiling flow) seems poor, it is wise to check your hot water pressure. Your Minerva tap requires a minimum pressure of 1.5 bar, but pressure must not exceed 5 bar. Think about your home’s plumbing system, too. Remember that homes with gravity-fed plumbing systems (tank in the loft) will often need a helping hand in the form of a pump on order to achieve the pressure required by tap appliances such as the Minerva.
The purpose of your Minerva tap’s filter cartridge is three-fold – to protect the boiler tank from limescale deposits in hard water areas (50% of the UK), to prevent erosion in soft water areas and to remove chlorine from your water. However, the filter cartridge will not stop the film appearing on the surface of hot drinks that is caused by the calcium and magnesium deposits that occur in many hard water areas.
If the film is unacceptable, you might like to try an alternative filter cartridge – the Franke 05. However, it is wise to bear in mind that the cartridge will need replacing much more frequently. For tea, some FilterFlow customers find that using specialist hard-water teabags, or teabags made from organic, natural material can also minimize the problem.
Sometimes, a light foam or froth on the surface of hot drinks can be seen and this is the result of the millions of tiny air bubbles that are produced by the boiling water combining with the ‘base’ of the drink – e.g. hot chocolate powder or instant coffee granules. With tea, it is often the tiny amount of oil in the tea bag that creates the froth – and it can look unsightly. Try using a teapot with loose leaf tea, putting the boiling water into your cup followed by the tea bag or switching to unbleached or organic tea bags.
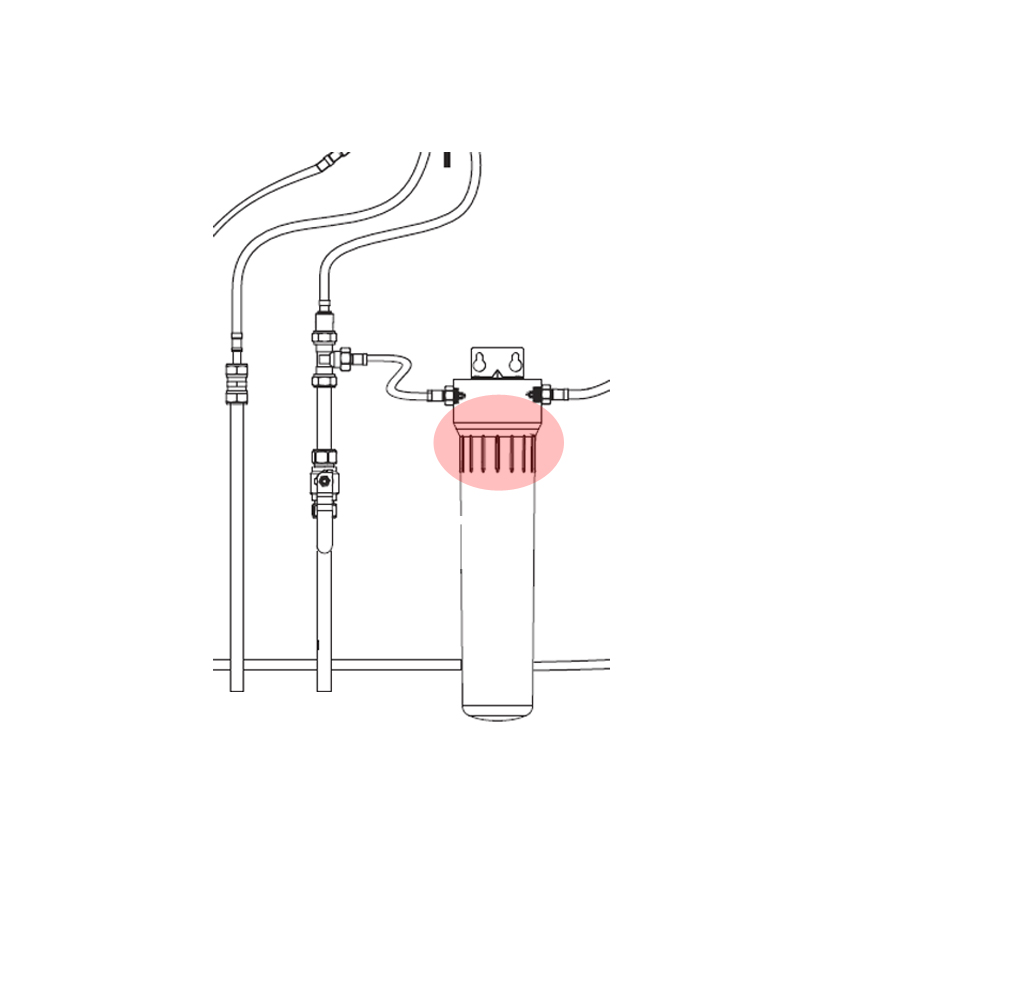
A leak between the bottom section of the filter cartridge housing – where the cartridge is placed – and the upper section can be resolved by replacing the housing’s seal. You can purchase a replacement housing seal here.
Minerva Helix Installation Guide
Tank Installation Guide Pre Sept 2016
Tank Installation Guide Post Sept 2016